Card Categories & Organization
The Organize page lets you group gift card designs into named categories, assign designs to those categories, and control the display order.
Go to eGift Cards → Organize (click the Organize button on the Gift Cards page).
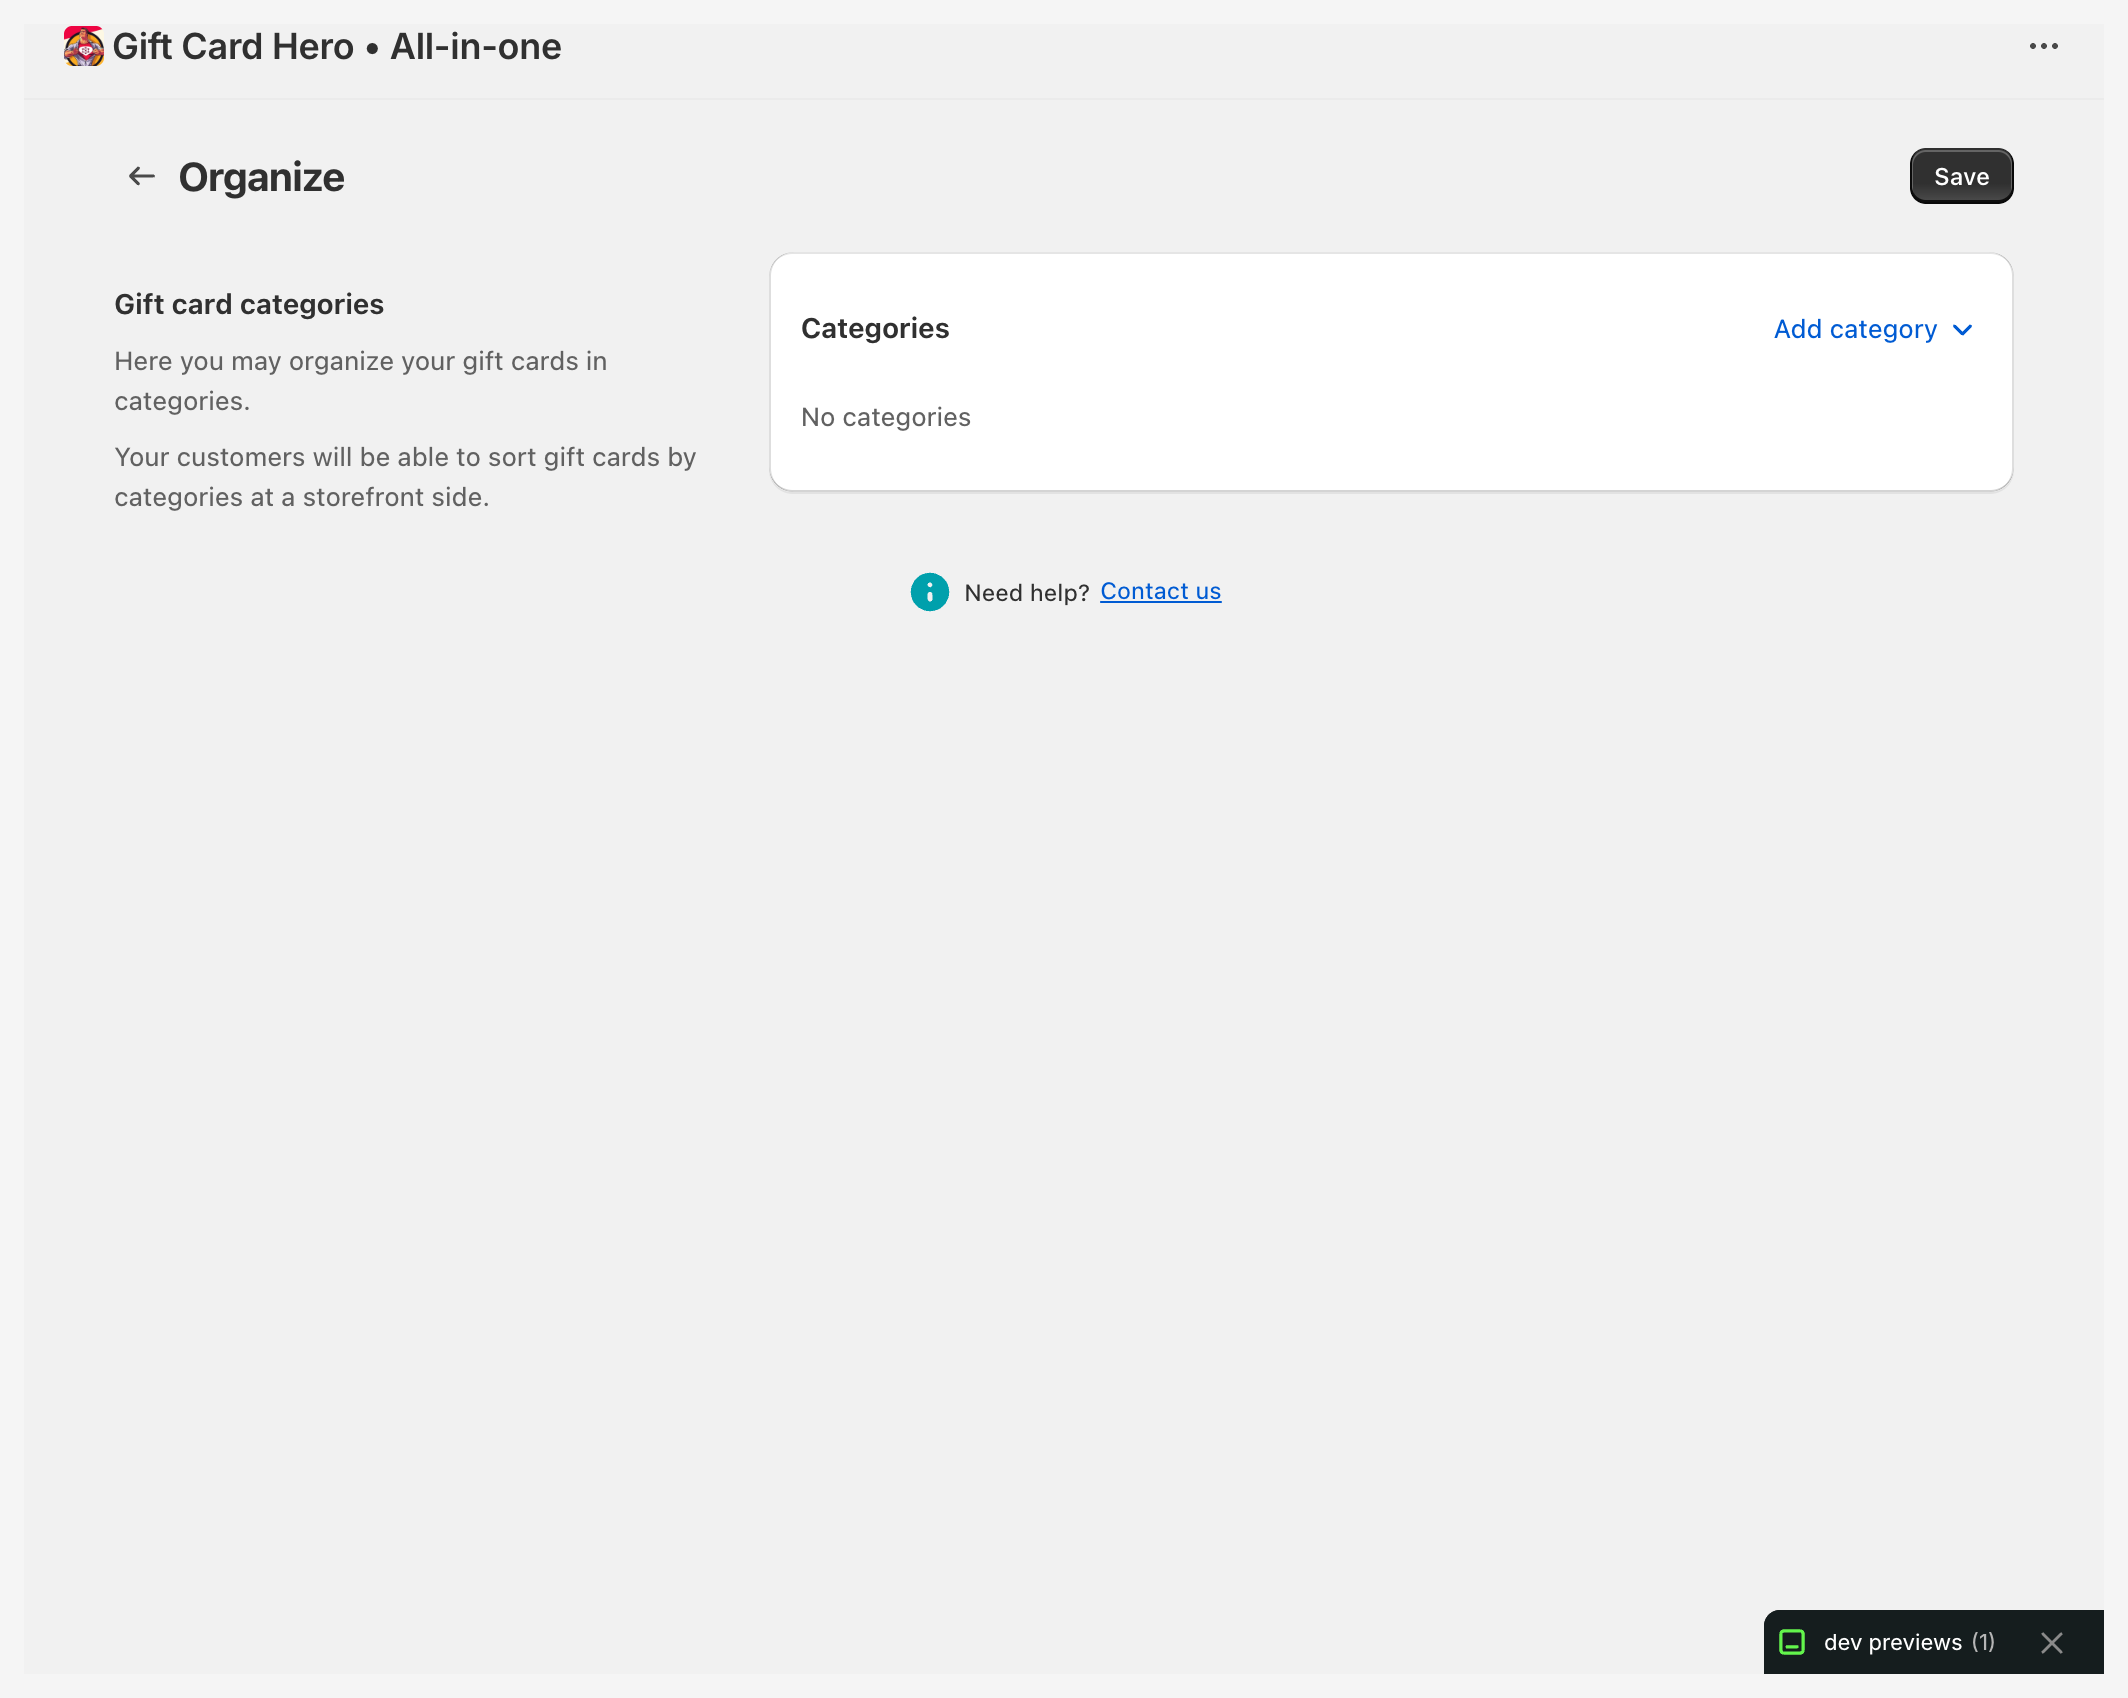
Creating a category
- Click Add category (a popover opens)
- Enter a category name
- Confirm
The category appears as a collapsible section on the Organize page.
Assigning designs to a category
- Expand a category section (click its header)
- Click Add gift cards to the category inside the section
- Select the designs to add from the picker
- The selected designs appear as thumbnails inside the category
To remove a design from a category, click its thumbnail in the category section.
A design can belong to as many categories as you like — the picker offers every design that is not already in the category you are filling, whether or not it sits in others. A birthday card that also works for anniversaries goes in both, and a customer browsing either category finds it.
Display order
Within a category, the order of the card thumbnails controls the order they appear to customers. Reorder them by rearranging them in the category.
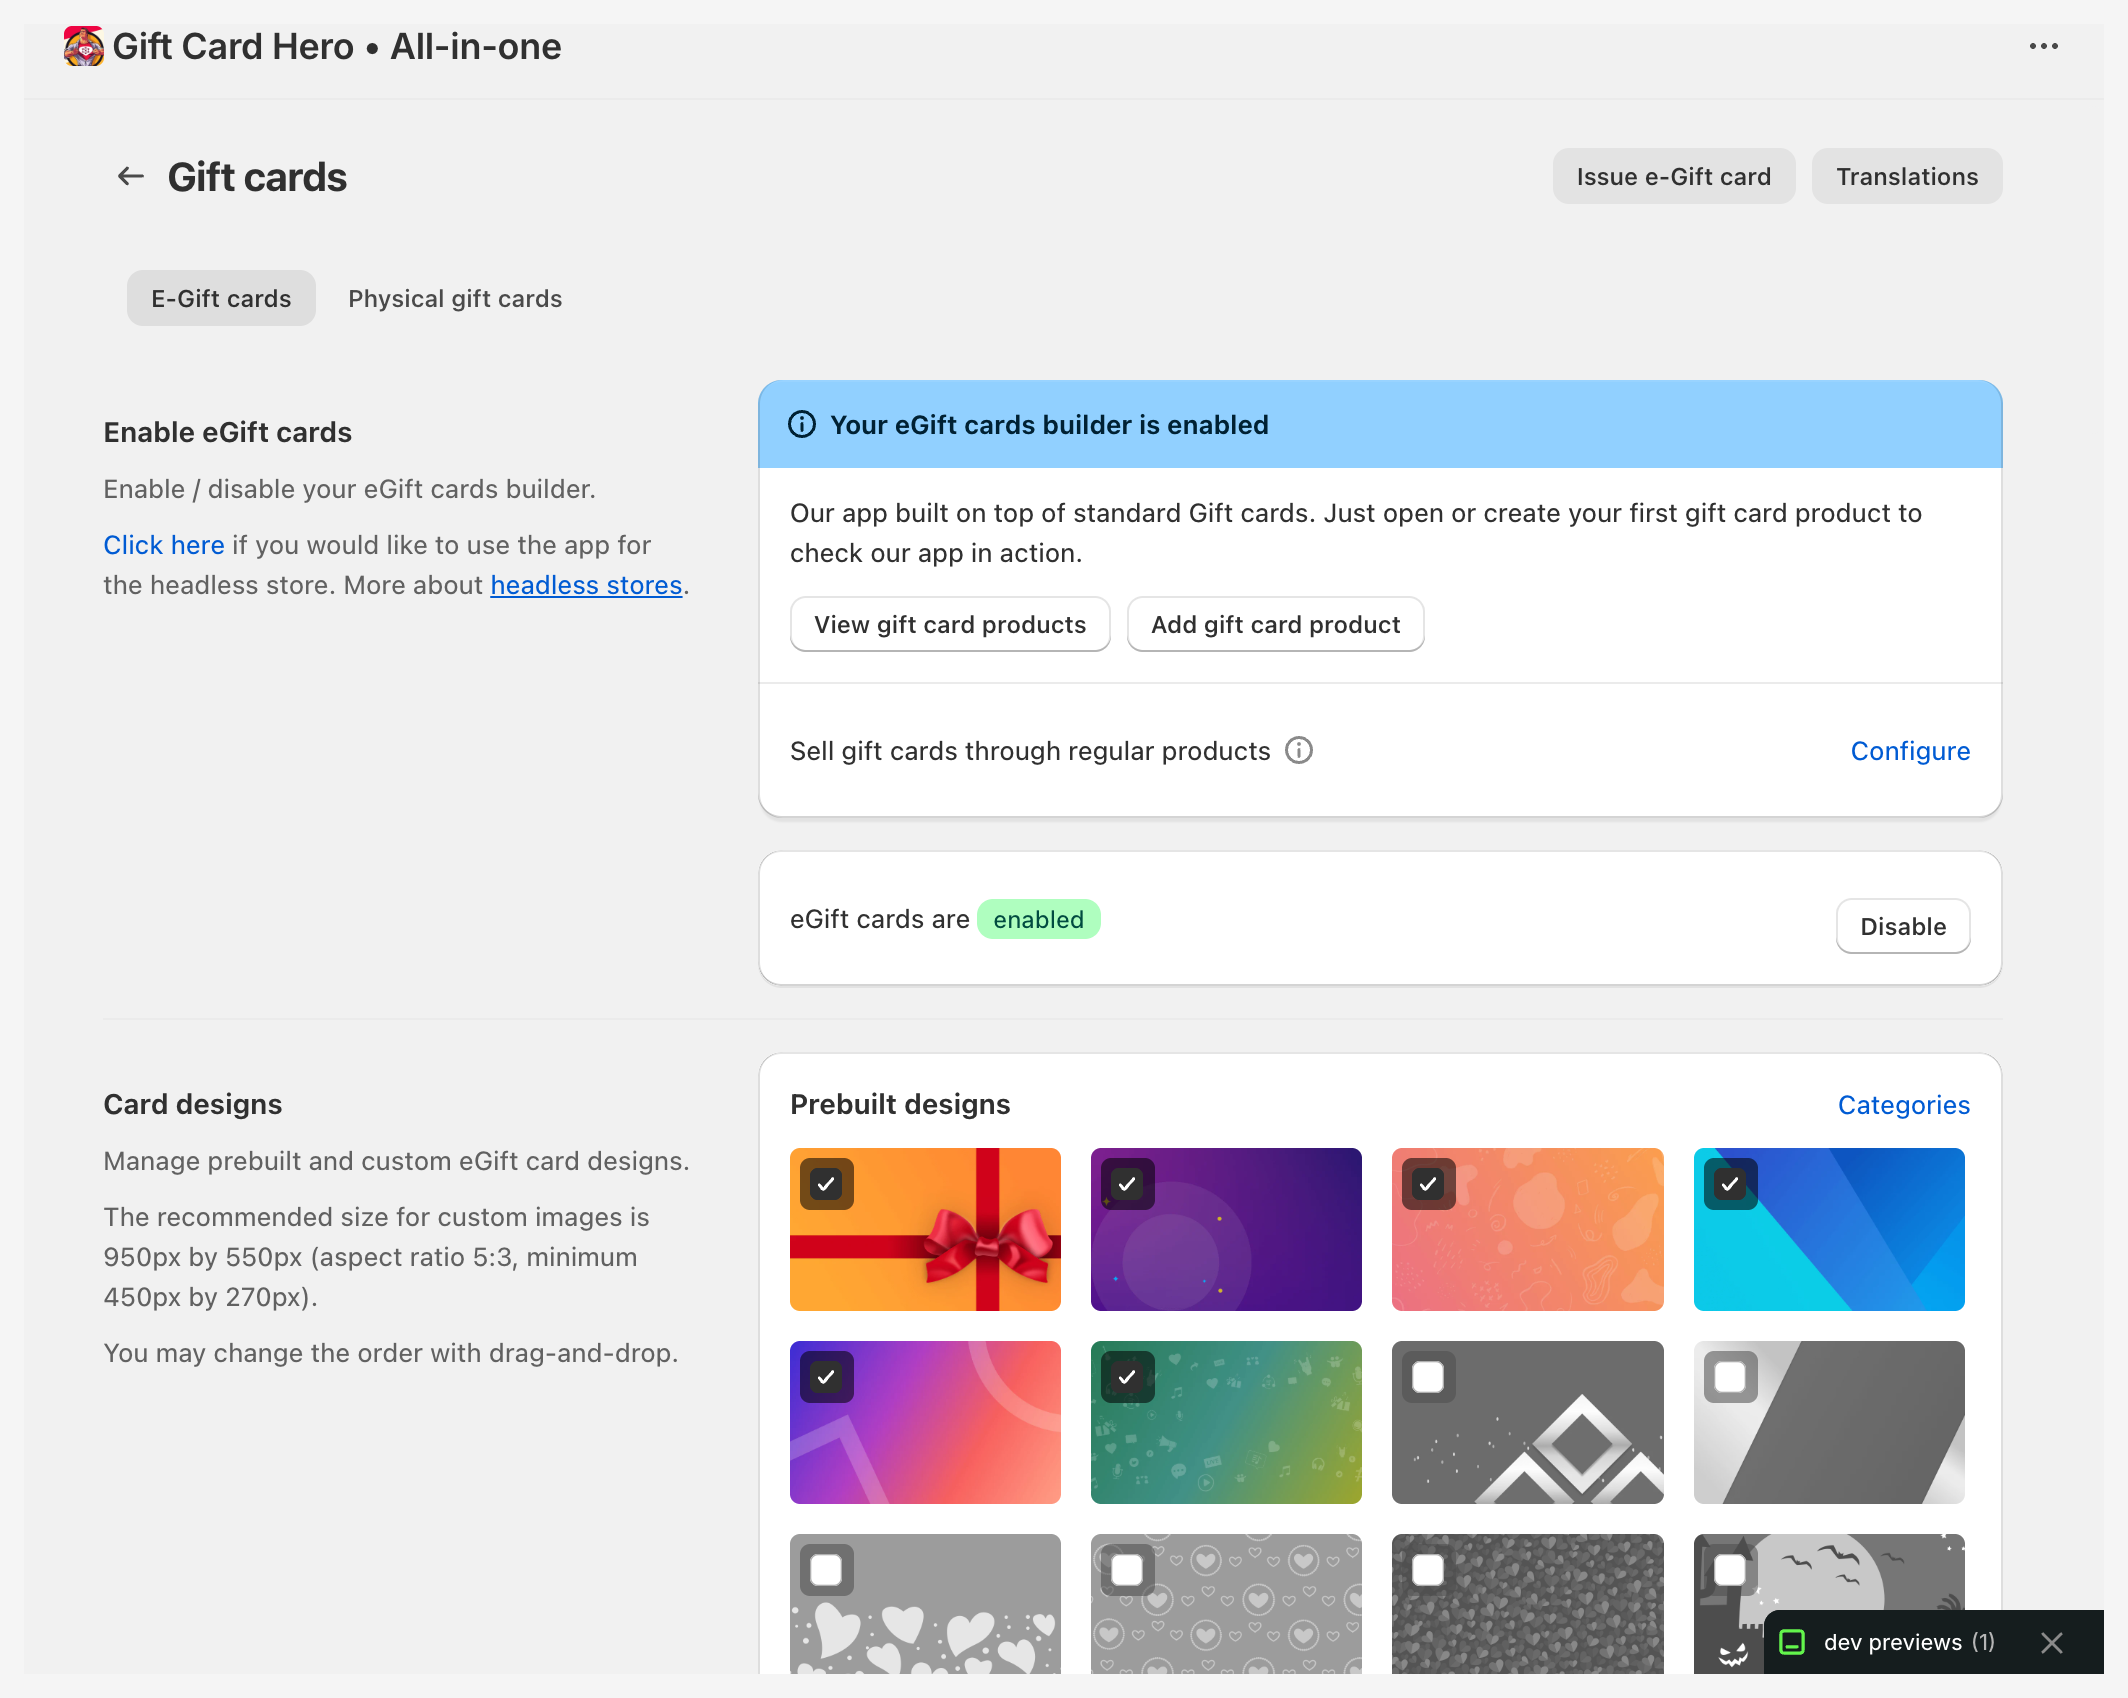
Removing a category
Click the trash icon next to the category name, then confirm in the popover. The designs in that category are not deleted — they simply leave it, and stay in every other category they belong to.
The category is removed once you click Save. Until then you can undo it with Discard.
Saving
Click Save to apply all changes (category additions, design assignments, and order changes).
How categories appear on your storefront
The categories and their assigned designs are shown to customers on your gift card selection page. Customers can browse by category to find designs for their occasion (e.g., birthday, holiday, corporate).
If no categories are set up, all designs are shown in a single flat list.